Now that spring is here, my children and I are spending a lot of time studying nature. We are classical homeschoolers, but we incorporate some of Charlotte Mason’s ideas about education into our homeschool, especially her emphasis on nature study.
The first thing we decided to grow this year was sweet potatoes. My son came home from Cub Scouts last spring with a sweet potato in a cup of water, and we patiently waited for something to happen. It took quite a while, and I was on the verge of throwing it out, when it finally got roots. Eventually, we transplanted the slips to the garden. It was a bit late in the growing season, so the sweet potatoes that were produced were pretty small, but still tasty. This year, we figured we’d get a head start, and hopefully, end up with a larger harvest.

To start your own, follow these steps:
- Buy some organic sweet potatoes from the store.
- Technically, you should be able to use any sweet potato, but most conventional potatoes are treated with chemicals that prevent slips from growing.
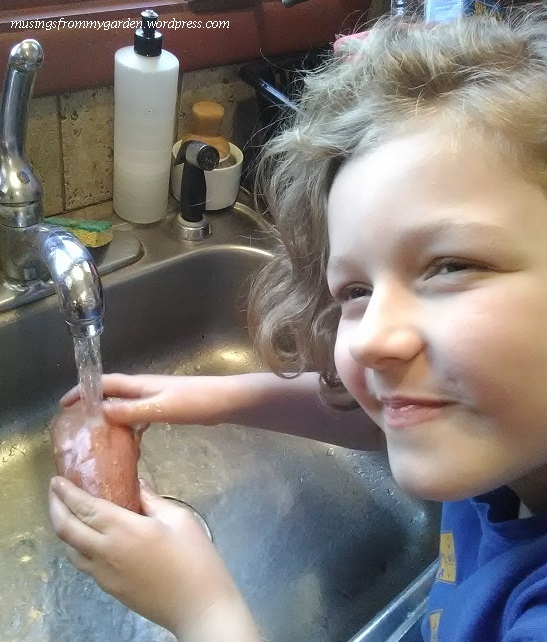
- Wash your sweet potato.
- Cut it in half.
- Stick 3-4 toothpicks in, across from each other, about halfway down your potato.
- Balance the toothpicks on the edge of a wide-mouth jar. We’re using salsa jars.
- Add enough water so that half of the potato is submerged.
- Keep them in a warm, dark spot for the first week. We placed ours in a cabinet above the refrigerator.
- Check the water level and refill as needed. Change the water if it becomes cloudy.

Keeping them in a cabinet for the first week is a trick I just learned, and roots appeared much quicker this year than they did for us last year. After that, you can move your jars to a warm, sunny spot.

We’ve been making official observations on their progress every Monday. I ask my children what changes they notice, we discuss it, and they update a nature journal page. We’ve been using a template that we used to chart tomato seed progress last year and it’s worked really well for us. I found it on Notebookingpages.com. They are very compatible with a Charlotte Mason approach to education.
Here are some of the ways that we have used these pages over time:

Eventually, your sweet potatoes will grow little plants on top called “slips.”
- When the slips reach 5-6 inches high, you can carefully pull them off and place the roots in a glass of water with the leaves above the liquid.
- Put them in a sunny spot and allow them to keep growing. Your sweet potato should continue to produce new slips.
At this point, you can take your study even further, if you like, and plant the slips. When the ground is warm enough (at least two weeks after your last frost date), they can be planted in the garden. You can plant them directly in the ground or in a container. We used a large 10-gallon bucket last year.

To plant your slips in a container:
- Drill holes in the bottom of the bucket.
- Find a spot next to a fence or trellis for the plant to climb.
- Prop the bucket up on something to allow for drainage underneath.
- Add a mixture of potting soil, peat moss, and manure to the bucket.
- Moisten your soil well, keep it loose, and shape it into a slope.
- Plant your slips on their side, with the top end toward the fence.
- Water as needed to keep the soil moist.
- When the leaves have dried out and turned yellow in the fall, dig up your sweet potatoes.
- Cure them in a cardboard box, unwashed, in a cool place (55 to 60°) for about 6-8 weeks for maximum sweetness.
One of the things we liked about growing them was that they were low maintenance. The plants are a pretty addition to the garden as well. I hope you enjoy growing sweet potatoes as much as we do!

That’s so cool!
LikeLike
Thank you!
LikeLiked by 1 person
Pingback: Notebooking Tips, Resources, & Ideas from our Members | NotebookingPages.com
Pingback: Winter Garden Update: Starting Sweet Potatoes with the Dirt Method | Musings from My Garden
Pingback: Nature Study: Starting Sweet Potato Slips with the Dirt Method | Musings from My Garden